How to Remove a Gibson Guitar Nut
I have to correct an ommision.
I realised that, a couple of weeks ago, I discussed how to collapse and remove a ‘stuck’ guitar nut. However, I really should have given some advice on how to remove a nut in regular circumstances first. I’d assumed some pre-existing knowledge that I shouldn’t have. Sorry.
Let’s address that, shall we?
So. ’Standard’ nut removal.
Before removing a Gibson-style nut
One of the most important things to remember before you start trying to get the nut out of the slot is that Gibson (and many manufacturers) apply finish after the nut is installed on the guitar.
This means there will be
- lacquer over the sides of their nuts and
- a lacquer ‘lip’ along the headstock edge of the nut
Just barging in to remove the nut without dealing with the finish can cause chips in the lacquer around the nut and you don’t want that.
So, before you start, you need to do a little prep-work.
Scoring the finish
Use a very sharp Exacto-style knife to gently score the finish around the edge of the nut.
Be careful here. It’s not always necessary to go all the way through the finish — it’s usually enough just to introduce a ‘fault line’ of sorts. Just to give the finish some encouragement to break.
That said, if the finish is thin, it’s usually easy to work all the way through.
Either way, go slowly and make a number of light passes for each line you cut. Don’t take it all at once. Don’t apply heaps of pressure — do it in stages. This way, it’s easier to stay on track and not cut too far beyond the nut borders.
The false bottom
One tip, remember that on Gibsons, the coloured lacquer usually comes up a little over the bottom edge of the nut and binding. This means the colour-to-clear transition line is not necessarily the bottom of the nut. With a translucent finish like shown here, that’s relatively obvious but it’s often not as apparent with an opaque finish.
Look carefully and you’ll usually get a little ‘sinkage’ line in the lacquer to indicate the bottom of the nut and, if not, proceed very carefully indeed.
Remember to score along the long edge of the nut, where it meets the headstock too.
Removing the nut
Ok, we’re talking about hammers and blocks of wood here but that’s not permission to go crazy. This is gentle tapping. Gentle. Got it?
I use a wide block of hardwood and butt it against the fingerboard side of the nut. Then a gentle, sharp tap of my fretting hammer on the other end will often do the trick.
Remember: Gentle. You’re not aiming to hammer the thing completely off the headstock in one go. Often one tap releases the nut but it’s perfectly ok to do this in increments — particularly if you’re new to the job.
If you’ve just made a small gap between fingerboard and nut, come around the headstock end and tap (even more gently this time) back in the other direction.
Repeat this back and forth tapping until the nut seems loose of the glue that was holding it.
Then just grab it with your pincers and pull up. You may need to wiggle it a little.
Don’t try to slide it out along the slot (to either the bass or treble sides). That can knock out finish, even if you’ve scored there.
That’s it. You might need to carefully clean up any finish overhangs along the ends of the nut slot. Again, I’ll stress carefully — it’s easy to chip things. And you might need to remove some glue residue from the slot but, your nut’s out.
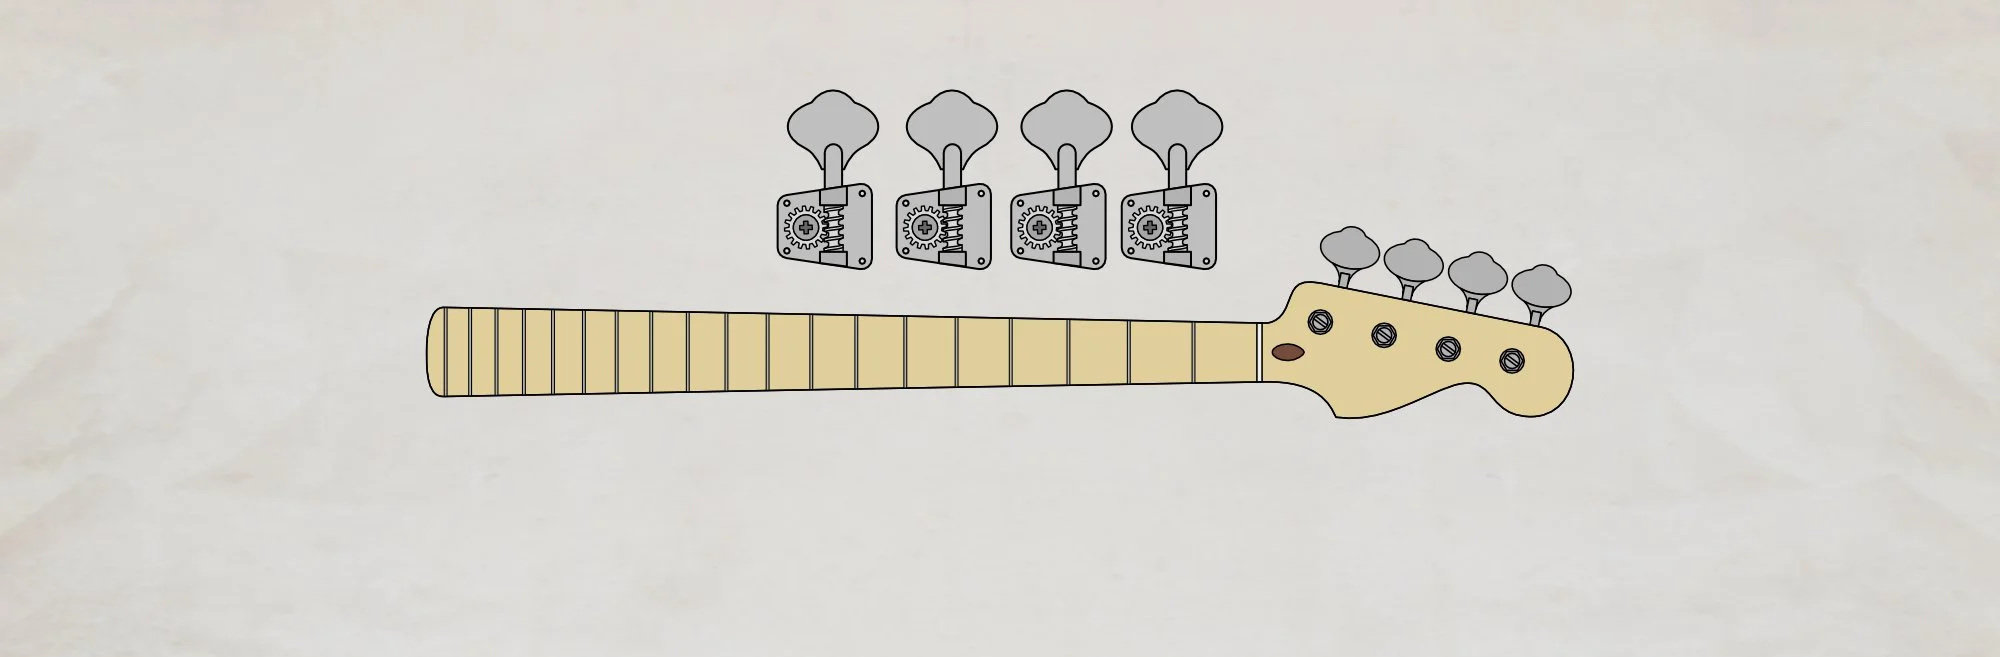
A note on Fender-style nuts
Don’t do this.
Don't remove a Fender nut this way. Check the article on Safely Removing a Fender Nut.
Just don’t attempt this with Fenders.
This article written by Gerry Hayes and first published at hazeguitars.com