Setup a Compound Radius Guitar
It’s occurred to me that I haven’t discussed compound radius fretboards much. That’s an oversight because an instrument with a compound radius board needs to be levelled and set-up slightly differently.
Before we get to that, though, let’s take a step back and make sure we all know what we’re talking about.
Compound Radius: The Background
On most guitars, the fingerboard has a radius and, most of the time, this radius is consistent along the length of the neck. This means, if the radius is 10” at the nut, it’s also 10” at the last fret. And, for the purposes of setting up, you would generally set the bridge saddles so the strings follow this 10” radius.
So far, so good.
However, some necks will have a fingerboard where the radius changes over its length. For instance, the radius at the nut might start at 10” but gradually flatten out to 16” at the last fret.
We call this a compound radius. Warmoth would have you believe they invented this but it’s actually been used for the last century (maybe more). Warmoth can probably claim to have established the compound radius more ‘formally’ and their necks remain a good way to try out a compound board.
Why Radius At All?
Turns out that chording is actually more comfortable on a neck with a radius. And, a relatively small/tight radius (e.g. Fender’s 7¼”) even more so. Your classical player chords on a completely flat radius with ease because he or she has tendons made from wire rope but, most of us can much more easily barre across a radiused board. Go figure.
This was all cool when guitar was an instrument made for standing at the back, playing chords but, once players realised they could impress potential sexual partners by playing blistering lead solos, the tighter radius boards became a problem.
You see, big string bends can be problematic on these fingerboards. The tighter radius can cause bigger bends (a tone or more) to choke or fret out. Raising string action can help somewhat but guitarists hate that. 😉
The answer can be a bigger/flatter radius. Something like a 16” radius gives less trouble and allows for bigger bends. In theory, the flatter radius makes chording a bit less comfortable, although, in practice, it’s not really that much of a problem for most players.
However, someone thought, “Why not have the best of both worlds?”
Ta da! Compound radius.
Play your open chords on a smaller radius down the bottom, Barre on a slightly flatter radius in the middle, and pull those huge string-breaking bends on the flattest radius towards the higher frets.
Cool. If that’s your cup of tea, go for it. Be aware of some differences in setup and levelling technique, though.
Setup Differences for Compound Radius
The most important difference is that the bridge saddles must take the compounding radius into account.
If the radius at the nut is 10”, and it’s 16” at the last fret, you must remember that the (virtual) radius keeps flattening as it goes to the bridge.
Imagine that the fretboard did not end at the last fret but continued all the way to the bridge. The radius at the bridge saddles will be flatter again than 16”. You must set your saddles with this in mind.
Now, Stew Mac have a formula to work out the radius at any point along the string’s length but it’s a bit too involved for most people to work out when setting up their axe.
You could make an estimation along with the assumption that the radius changes from 10” to 16” over about two thirds the sting’s length. So it’s 6” over ⅔ which means it will flatten out by about another 3” for the last third. You can then use a radius gauge to set the bridge saddles around this figure (probably rounded to 20” in our example). In practical terms, this will get you close but, probably the best way is to graduate each string’s action as explained below:
Graduate String Action Across the Fingerboard
This is pretty straightforward. As you would with any setup, set the height of your 1st and 6th string. For the sake of easy maths, let’s go metric and we’ll assume your 1st string action is 1.6mm and your 6th string is at 2.6mm. You would set the other strings so they gradually increase in action between the 1st to the 6th string.
1st: 1.6
2nd: 1.8
3rd: 2.0
4th: 2.2
5th: 2.4
6th: 2.6
Setting your saddle height this way ensures your radius is correct at the bridge.
Fretwork Differences for Compound Radius
In some ways, levelling frets or fingerboard on a compound radius board is more ‘intuitive’ than on one with a single radius.
Let me elaborate a bit.
On a single radius fingerboard, we’re trying to keep that radius consistent. To do this, we have to keep our levelling beam parallel to the neck’s centreline. That means that, at times, the levelling beam ‘overhangs’ into thin air (see image below).
Levelling a compound radius board is usually done in line with the strings. Levelling this way will naturally compound the board (and that’s why we see this on, say for instance, vintage Martins).
Now, the drawback is that, if you’re not so proficient with a levelling beam, it’s easier to end up with a series of flat sections across the board. You have to keep the levelling beam moving so that you’re getting even coverage across the board.
With a single radius board, you can use a radius block to re-establish the radius after the bulk of levelling is done. This isn’t so easy with a compound board. It’s possible to use a series of radius blocks, in shorter sections of neck, increasing the radius as you move up but it’s not foolproof. Best to make sure you get even coverage with your levelling beam.
You can also use the beam side-to-side to help re-establish radius but, again, a compound board needs more care. Don’t try to go all the way across the board. Start in the centre and move out to one side. Then do the same for the other side.
Compound Conversions
It is usually possible to convert your existing neck into a compound radius but there are a couple of things to consider.
- Obviously, it’s going to mean a refret but, while the frets are out, the wood of the fingerboard itself will be reshaped to the appropriate radii.
- If you’ve got a lacquered maple fingerboard, this will mean a refinish is required.
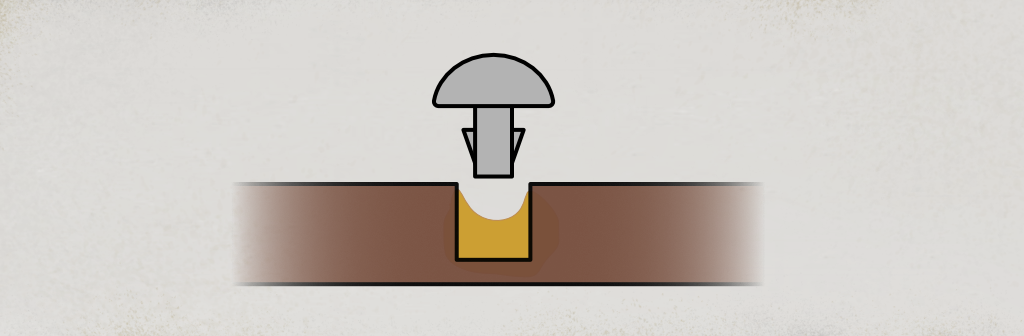
- The reshaping of the fingerboard can impact inlays. You may sand through them when flattening the radius. Bear in mind it might be necessary to replace them.
- Fret slots may have to be deepened in the flattened sections to ensure there’s room for the tang to seat properly.
- Remember to consider your bridge. Fixed radius bridges may have to be replaced. Ensure your bridge can be adjusted to match the new radius.
Oh, and, if you’ve got a Fender with a rosewood veneer fingerboard, forget about it. You don’t have a lot of thickness in that fingerboard to start with. Compounding it will screw things up and kill the value.
And, while we’re on the subject of value, remember that future buyers may not like that the guitar’s been permanently modified like this. Definitely a concern for a vintage or valuable instrument.
The Bottom Line
Some players swear by compound boards. If you’re tempted to try it out, consider the potential issues with converting your instrument.
If it’s possible, an easier (and cheaper) method might be to just buy a replacement neck with the desired compound.
Remember, some fingerboards will come from the factory compounded and some may have gotten partially or fully compounded during earlier refrets. If you want to check your own neck, you can download some free radius gauges here.
Shout out in the comments if you’ve questions or thoughts.
This article written by Gerry Hayes and first published at hazeguitars.com